3:38:00 PM
 tutorial_mania
1. Create a sphere with few segments (in this case, 8):

2. If you prefer, delete the half and use a NURMS/Symmetry (MAX) or CPS Script (MAYA):

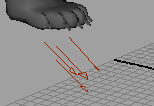
3. Here, we see the approximate size proportion of the iris in relation to the eye. It occupies an area a little larger than 2/4 of the height but not 1/3. Create 2 new loops according to the indications in red, exactly where the iris borders will be:

4. Here, the perspective view, after a small polygon "relax":

5. Model the small camber until getting a close result of this (side view):

6. We will transform the extremity triangles...

7. ...in quads, cutting the mesh this way:

8. SubD wire version...

9. ...shade mode. Observe that the camber is minimum, different than it happens in the real eye:

10. Here are the initial proportions maintained after the completion of the first part, the cornea:
11. Duplicate this model and transform it in the second one: the iris, pupil and white of the eye. For that, you will flatten the camber almost completely in the previous piece. Select the edge ring in red...

12. ...connect and create a new edge loop like this:

13. Pull the vertexes (or extrude the faces) of this area, forming a hole, that is the pupil:

14. Here is the perspectvie view (the iris is ALMOST flat, but it has an area slightly deepened):

15. Here, the two pieces in the side view, wire/SubD:

16. And here, in perspective view:

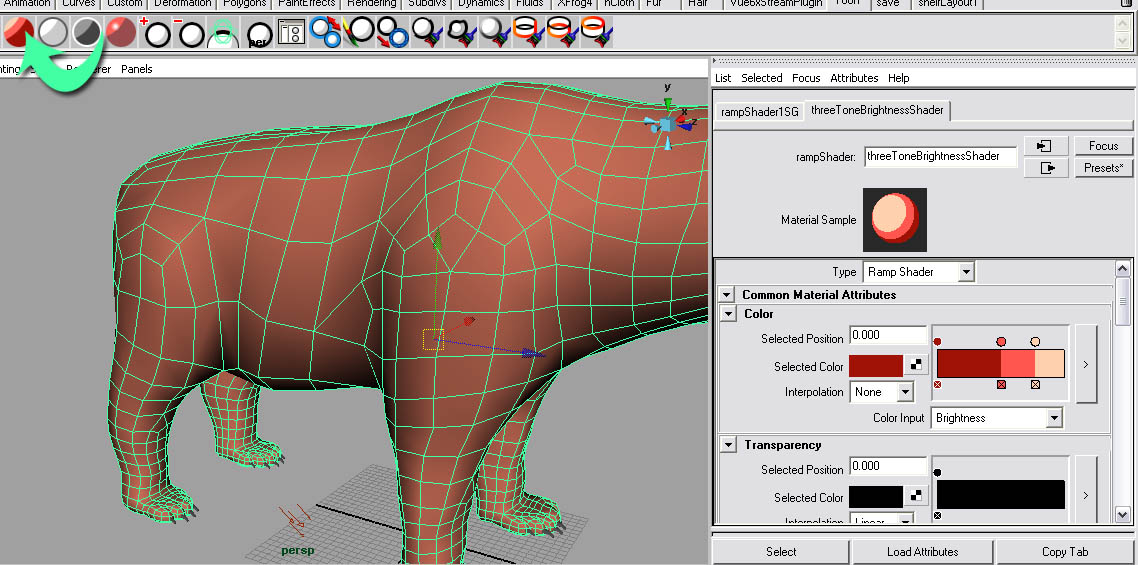
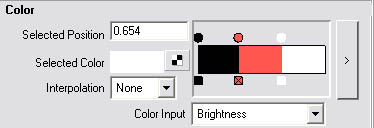
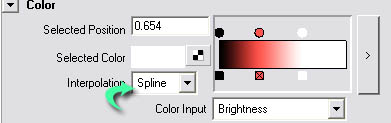
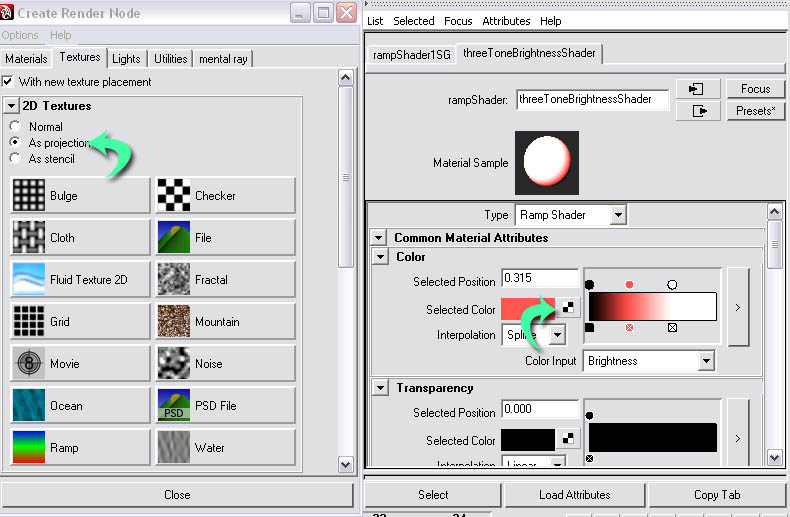
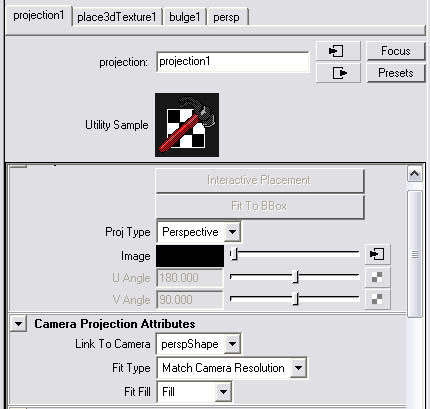
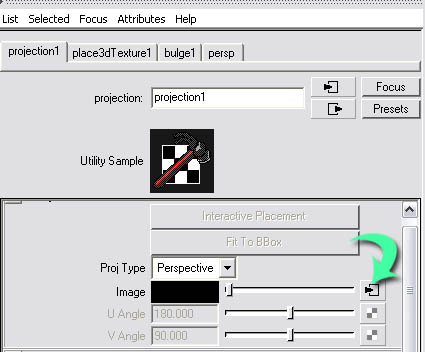
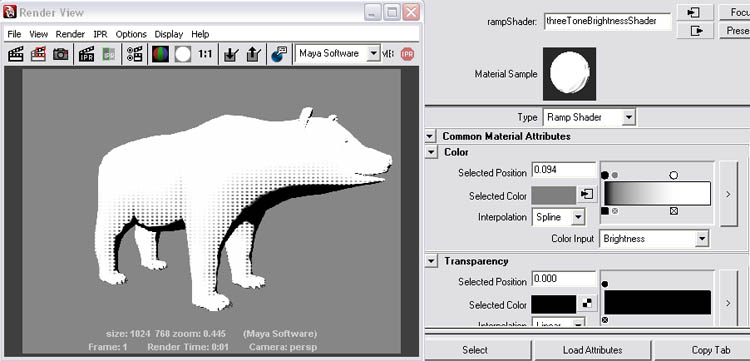
17. To make the cornea shader, use the configurations posted left (MAYA) or approximate this result using MAX. Clue: for specular, choose the white color however, force to use 2 times whiter (adjusting V from HSV for 2, for instance). Use a low reflection value(0.037, in MAYA) and 1.2 value for raytrace/refraction :

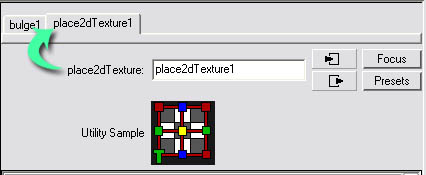
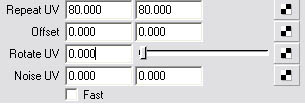
18. For the other piece, modeled last, use the texture that you made using my other tutorial and a very low especular level and very "open" highlight (almost opaque). Use planar/frontal map for this texture:

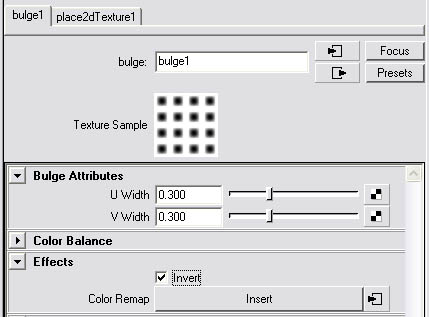
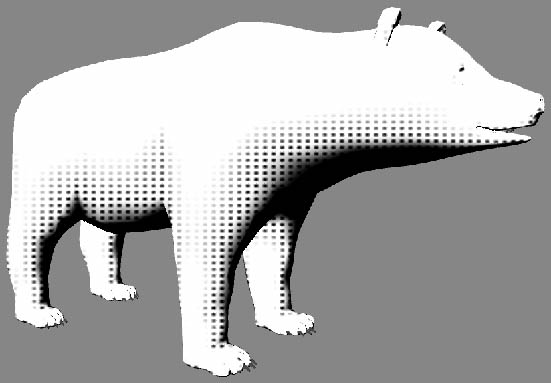
19. If you want to include some volume in the veins, hide all iris layers, change image to grayscale mode (or desaturate) and use this image as the bump map:

20. You will also be able to add a self-ilum map or incandescence in the iris, using a map as this (very low value):


2. If you prefer, delete the half and use a NURMS/Symmetry (MAX) or CPS Script (MAYA):
3. Here, we see the approximate size proportion of the iris in relation to the eye. It occupies an area a little larger than 2/4 of the height but not 1/3. Create 2 new loops according to the indications in red, exactly where the iris borders will be:
4. Here, the perspective view, after a small polygon "relax":
5. Model the small camber until getting a close result of this (side view):
6. We will transform the extremity triangles...
7. ...in quads, cutting the mesh this way:
8. SubD wire version...
9. ...shade mode. Observe that the camber is minimum, different than it happens in the real eye:
10. Here are the initial proportions maintained after the completion of the first part, the cornea:
11. Duplicate this model and transform it in the second one: the iris, pupil and white of the eye. For that, you will flatten the camber almost completely in the previous piece. Select the edge ring in red...
12. ...connect and create a new edge loop like this:
13. Pull the vertexes (or extrude the faces) of this area, forming a hole, that is the pupil:
14. Here is the perspectvie view (the iris is ALMOST flat, but it has an area slightly deepened):
15. Here, the two pieces in the side view, wire/SubD:
16. And here, in perspective view:
17. To make the cornea shader, use the configurations posted left (MAYA) or approximate this result using MAX. Clue: for specular, choose the white color however, force to use 2 times whiter (adjusting V from HSV for 2, for instance). Use a low reflection value(0.037, in MAYA) and 1.2 value for raytrace/refraction :
18. For the other piece, modeled last, use the texture that you made using my other tutorial and a very low especular level and very "open" highlight (almost opaque). Use planar/frontal map for this texture:
19. If you want to include some volume in the veins, hide all iris layers, change image to grayscale mode (or desaturate) and use this image as the bump map:
20. You will also be able to add a self-ilum map or incandescence in the iris, using a map as this (very low value):
 Posted in
Maya 3D
Posted in
Maya 3D