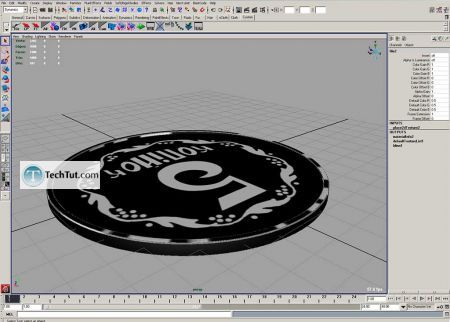
Translation

16.6.10

Create a coin 3D model

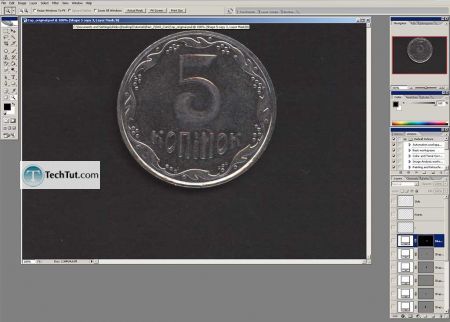
First scan your coin:

Tutorial Create a coin 3D model part 1 1


Now we must create black and white map:
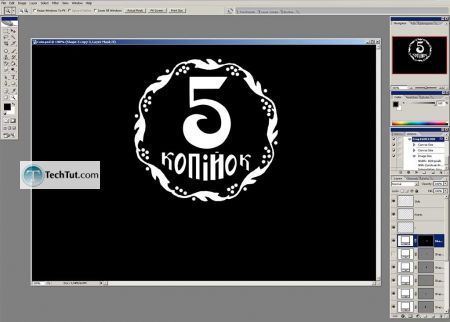
Tutorial Create a coin 3D model part 1 2

Crop it it's must like this:

Tutorial Create a coin 3D model part 1 3

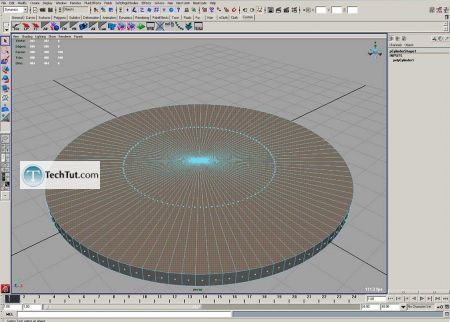
Go to Maya and create polygon cylinder
Set radius 5, height 0.4, division 100:
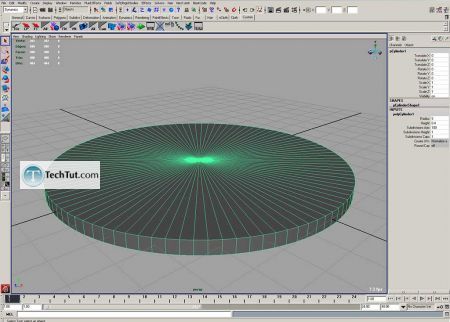
Tutorial Create a coin 3D model part 1 4

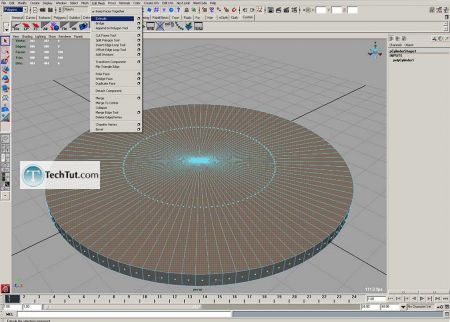
Select faces:

Tutorial Create a coin 3D model part 1 5

Make extrude:

Tutorial Create a coin 3D model part 1 6

Tutorial Create a coin 3D model part 1 7

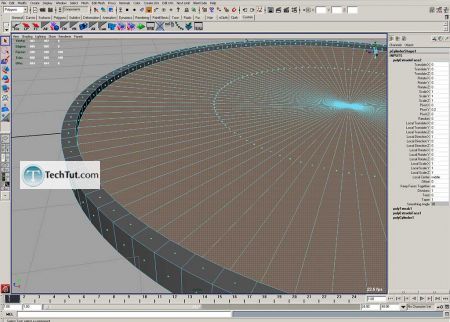
With edge loop tool select border edges:
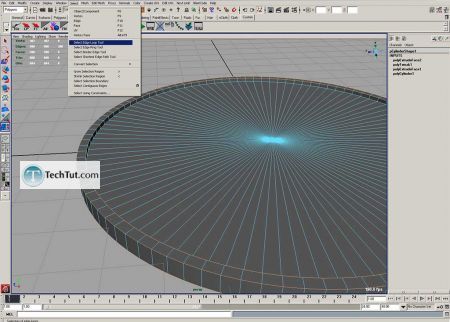
Tutorial Create a coin 3D model part 1 8

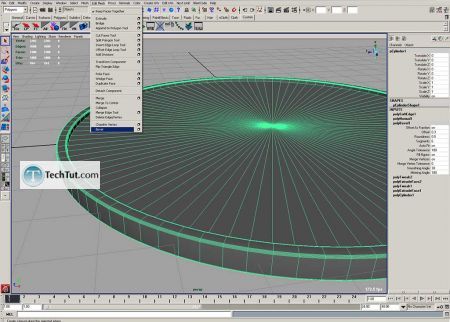
Make bevel, offset 0.3, segment 6:

Tutorial Create a coin 3D model part 1 9

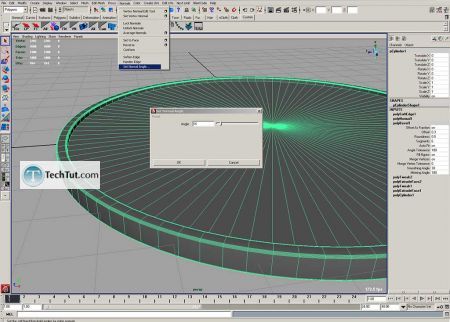
Set normal angle for 15:

Tutorial Create a coin 3D model part 1 10

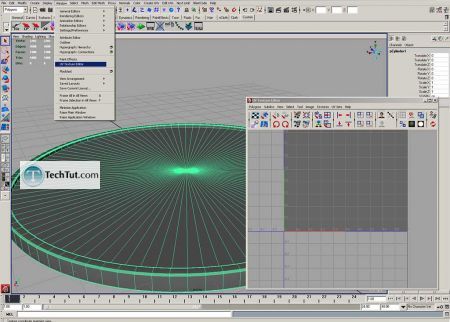
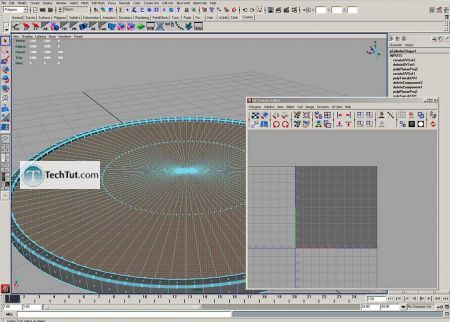
Open UV editor:


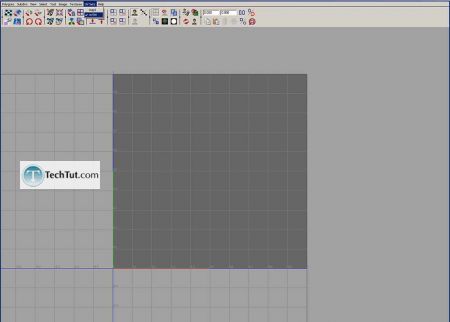
Tutorial Create a coin 3D model part 1 11Select empty UV set:

Tutorial Create a coin 3D model texture 1


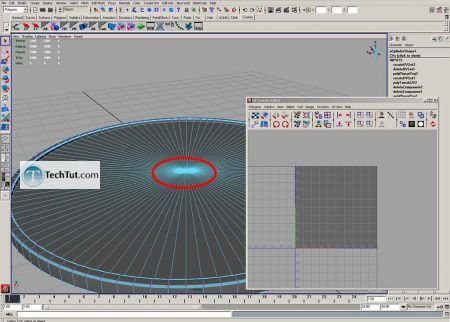
Grab top central vertex:

Tutorial Create a coin 3D model texture 2

Press Ctrl+F11

Tutorial Create a coin 3D model texture 3

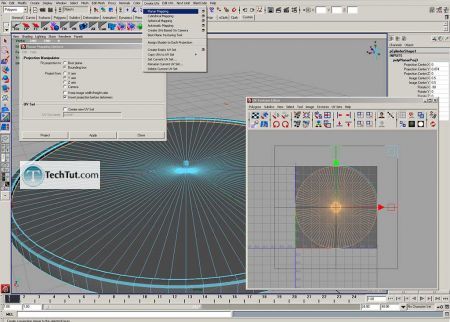
Create new UVs:

Tutorial Create a coin 3D model texture 4

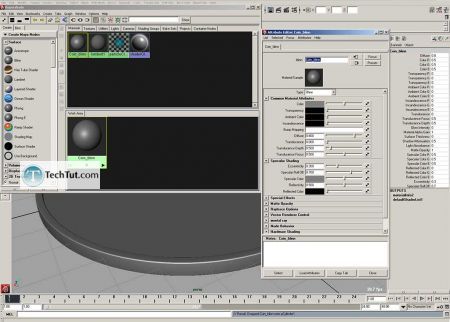
Create new blinn material:

Tutorial Create a coin 3D model texture 5

Connect to color our texture that we created:
Click on checkers opposite to Color, and choose file node
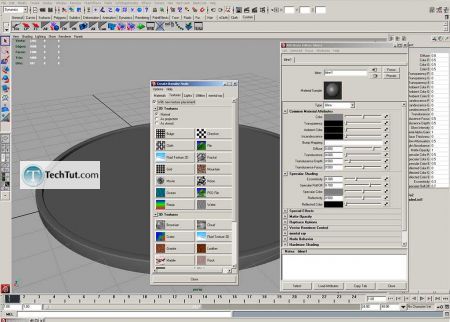
Tutorial Create a coin 3D model texture 6

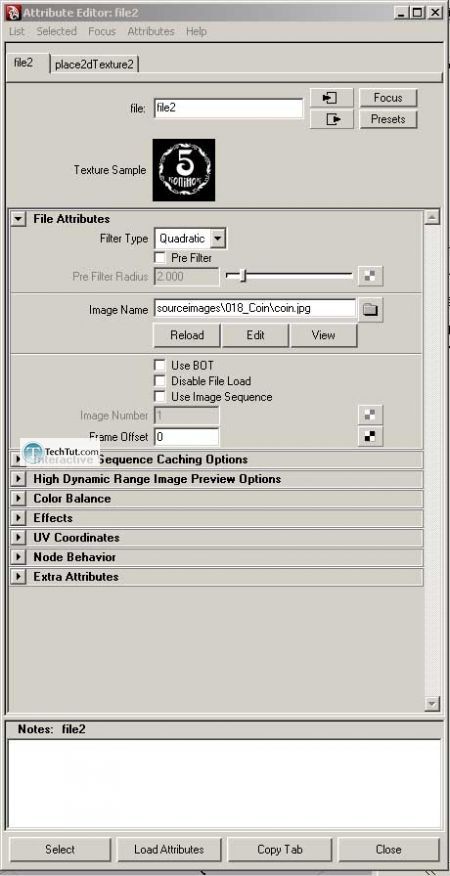
Load texture:

Tutorial Create a coin 3D model texture 7

Assign it to coin

Tutorial Create a coin 3D model texture 8

Open UV editor and move UVs as on picture:
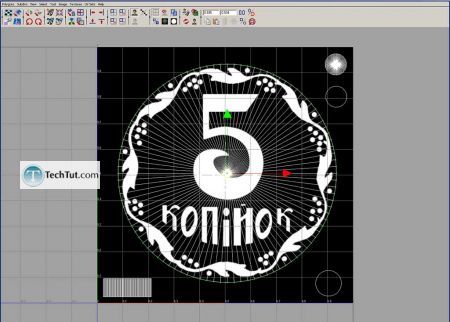
Tutorial Create a coin 3D model texture 9

Select blinn1SG and drag file node to Displacement mat.:
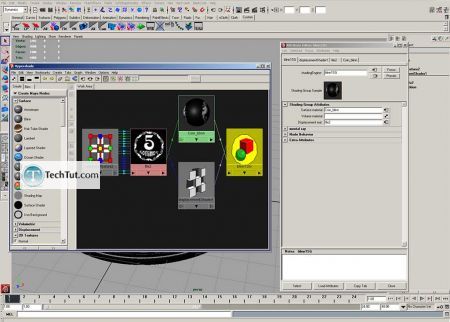
Tutorial Create a coin 3D model texture 10


0 comments:

Post a Comment